 Fix ‘WiFi country not set’ error on Raspberry Pi Model 3 B+ by adding a country code to the
 wpa_supplicant.conf file. Accessing your Raspberry Pi and setting the country code is essential for enabling WiFi on a Raspberry Pi Model 3 B+ and for using the WiFi module to connect your Homebridge, openHAB or Home Assistant application to your local network.
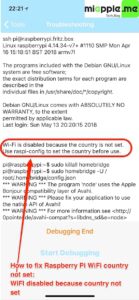
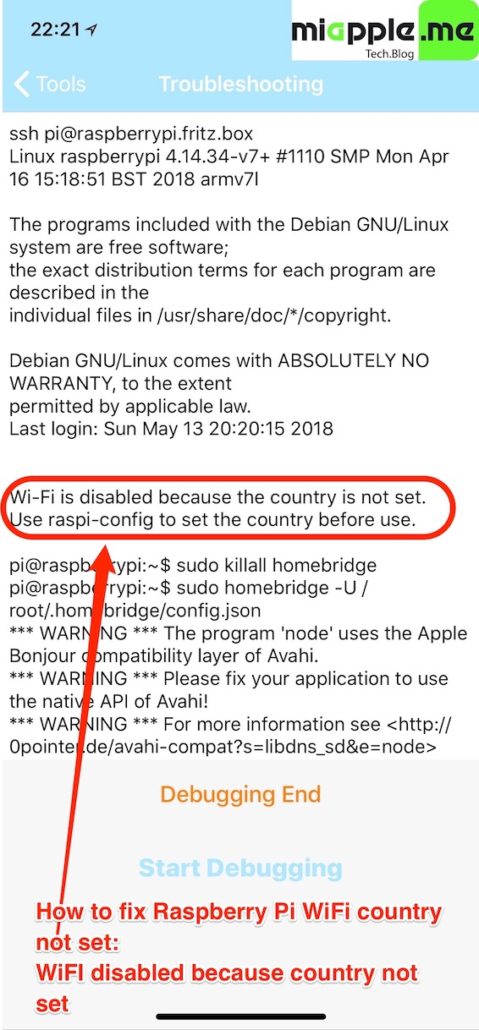
Here is the error message ‘WiFi country not set’:

On the Raspberry Pi 3 Model B+, you need to set the country code, so that the 5G networking can choose the correct frequency bands. You can either use the raspi-config application and select the localisation option, or edit the wpa_supplicant.conf file and execute the following steps:
How to access your Raspberry Pi 3 Model B+
After you install the operating system and connect your Raspberry Pi to your network (and into power), you need to locate it so you can ssh into it and run some commands.
The default “Raspbian” OS will automatically broadcast its presence on your network under the mDNS name “raspberrypi”. If you are using Mac or Linux, you can reach your Pi easily:
ssh pi@raspberrypi.localNote: SSH is disabled by default in recent version of Raspbian. For details, see this page for instructions to re-enable it.
The default username for Raspbian is pi and the password is raspberry.
If you have a different OS installed on your Pi or you can’t find it via pi@raspberrypi.local then you can try connecting to your home router by pointing your web browser at somewhere like http://192.168.0.1, http://192.168.1.1, http://10.1.1.1 etc. (this depends on the router you’re using and your network setup). Once you are logged in, you can usually find a list of devices connected to your network under “DHCP”.
Windows does not support ssh on the command line, but you can use a free SSH client like Putty to connect to your Pi.
How to set the country code for enabling WiFi on Raspberry Pi 3 Model B+ and fix ‘WiFi country not set’

Here is how to set the country code on Raspberry Pi 3 Model B+:
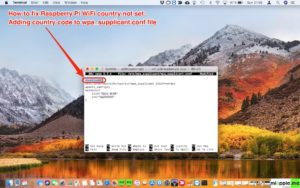
1. Open the wpa-supplicant configuration file in nano:
sudo nano /etc/wpa_supplicant/wpa_supplicant.conf2. Go to the bottom of the file and add the following:
country=GB
ctrl_interface=DIR=/var/run/wpa_supplicant GROUP=netdev
update_config=1
network={
ssid="testing"
psk="testingPassword"
}
3. Type ‘control + X‘, then ‘Y‘ and ‘Enter‘ for saving and exiting. Done!
Note: You need to replace ‘GB‘ with the ISO code of your country. See Wikipedia for a list of country codes.
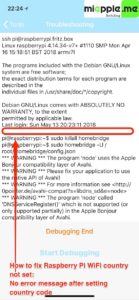
Checking the debugging: No error message anymore, WiFi is enabled:

Due to security reasons, you have to manually set up WiFi on a Raspberry Pi 3 Model B+. WiFi is enabled by adding the country code to the wpa_supplicant.conf file.
Stay tuned! 😉


1 Comment
Pingback: Fixing My Dead Nextcloudpi box in three simple steps – Wayne Out There